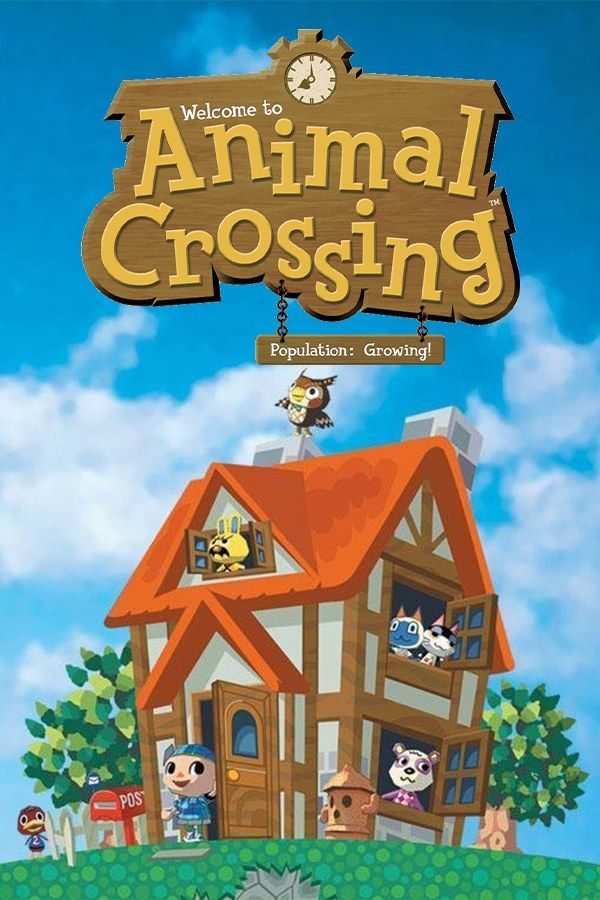
Animal Crossing moves you into a small village of talking animals and lets you live there. You catch fish and bugs, dig up fossils, write letters to your neighbors and pay off your house to Tom Nook, who runs the shop. The game follows a clock and a calendar, so shops open and close and the seasons change as the days go by. In Nagori, that clock runs on your iPhone’s date and time. It came out in Japan in 2001 and in North America in 2002. If you own the GameCube game, Nagori lets you play it on iPhone and iPad.
What you need
- An iPhone 12 or newer, or an iPad with an A14 chip or newer, with iOS 17.6 or later.
- Nagori from the App Store. Your first game is free.
- A disc image of your copy of Animal Crossing:
.iso,.gcm,.rvz,.cisoor.gcz, or a.zipor.rarcontaining it. The game is on one disc.
No BIOS file is needed.
How to play Animal Crossing on iPhone
- Install Nagori from the App Store.
- Copy your Animal Crossing disc image to the Files app, in iCloud Drive or On My iPhone.
- Open Nagori, tap + and choose the file. Add it from inside Nagori: the Files app’s Open in menu doesn’t hand
.rvzand.gcmfiles to it. - Find Animal Crossing on the GameCube shelf and press Play.
- Switch to a layout with a stick. You walk around town with the control stick, and the default Standard layout has none. Pause, open Settings → Touch Layout and choose Stick Focus for a large stick. With a controller connected, you can skip this step.
Controls
Nothing in Animal Crossing asks for fast reflexes. You walk with the control stick and do most things with the face buttons: talk, shop, swing a net or dig. Fishing is the main timing test, a single press when the float gets pulled under.
The slow part on touch is typing: your name and your town’s at the start, then letters and bulletin board posts, picked letter by letter on the game’s on-screen keyboard with the stick and a button. If you write a lot, open Edit Layout in the pause menu and move A and B to where your right thumb rests.
Bluetooth controllers that iOS supports work too, including DualSense, DualShock 4 and Xbox controllers. A is the bottom face button, B the left one, X the right one and Y the top one; Z is on the right shoulder, and L and R are the triggers. Press the left stick to open Nagori’s pause menu.
Saves: your town lives on the memory card
Animal Crossing writes your town to the memory card when you save in the game. Switch off without saving, and next time Mr. Resetti, a mole, turns up to lecture you about it. The memory card works in Nagori as on the GameCube, but stays inside the app: it isn’t in the Files app, isn’t part of Export Saves and doesn’t sync to iCloud, so your town stays on the iPhone or iPad you play on.
Nagori adds Continue: leave the app mid-errand, and it drops you back into the same moment. Save states matter less here, with no bosses to retry, and a save state may not load after some Nagori updates. End every session with a save in the game; your town depends on it.
What isn’t available
Nagori plays GameCube games with one player and doesn’t connect a Game Boy Advance, so the features that needed extra hardware are out:
- The island. Kapp’n’s boat only sailed there with a Game Boy Advance connected to the GameCube.
- Pattern tools on a Game Boy Advance, which used the same link cable.
- e-Reader cards, scanned through an e-Reader on a connected Game Boy Advance.
- Visiting a friend’s town. That needed their memory card in the second slot, and Nagori can’t bring in another town’s card.
Best settings
In the pause menu, go to Settings → Quality. Medium, the default, suits a calm game like this one, and Low keeps the device coolest over long stretches. High gives the smoothest motion on the newest iPhones and iPads. GameCube games show at their original resolution, Full Screen stretches the picture, and the controller doesn’t rumble.