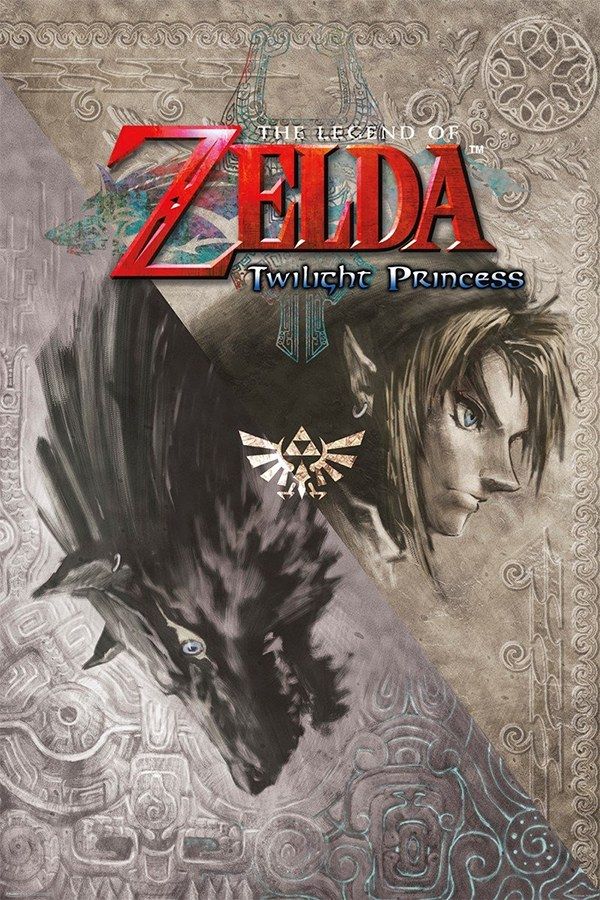
In Nintendo’s 2006 Zelda, Link starts out as a ranch hand in Ordon Village. When twilight spreads over Hyrule, he turns into a wolf inside it, and Midna, an imp from the Twilight Realm, rides on his back and guides him. If you own the GameCube version, Nagori lets you play it on iPhone and iPad.
What you need
- An iPhone 12 or newer, or an iPad with an A14 chip or newer, with iOS 17.6 or later.
- Nagori from the App Store. Your first game is free.
- A disc image of your GameCube copy of Twilight Princess:
.iso,.gcm,.rvz,.cisoor.gcz, or a.zipor.rarcontaining it. The game is on a single disc.
No BIOS file is needed.
How to play Twilight Princess on iPhone
- Install Nagori from the App Store.
- Copy the disc image of your GameCube copy to the Files app, in iCloud Drive or On My iPhone.
- Open Nagori, tap + and pick the file. Add it from inside Nagori: the Files app’s Open in menu doesn’t pass
.rvzand.gcmfiles to it. - Find Twilight Princess on the GameCube shelf and tap Play.
- Choose a layout with two sticks. The default Standard layout has no stick. Pause, open Settings → Touch Layout and pick Twin Sticks or DualShock, so the camera gets a stick of its own. A controller makes this step unnecessary.
GameCube version, not Wii
There are two versions from 2006. The Wii version mirrors the whole world so that Link holds his sword in his right hand, and uses motion and pointer controls. The GameCube version keeps the original layout, with a left-handed Link, and plays on buttons and sticks. Nagori doesn’t play Wii games, so you need a disc image of the GameCube version.
Controls
Link moves with the control stick, and the camera turns with the C-stick, which Nagori puts on the right stick. A is the action button, B swings the sword, and the items you assign sit on X and Y. L locks on to an enemy.
On touch, your right thumb keeps moving between the camera stick and the buttons. Open Edit Layout from the pause menu and drag X and Y closer to the right stick to shorten the trip.
With a controller, A is the bottom face button, B the left one, X the right one and Y the top one. Z is on the right shoulder button, and L and R are the triggers, which register as full presses in Nagori. Press the left stick to open Nagori’s pause menu.
Saves: memory card and save states
Twilight Princess saves to the memory card, and loading a save puts Link at a set starting point, such as a dungeon entrance, rather than the spot where you saved. The memory card works in Nagori as on the console, but stays inside the app: it isn’t in the Files app, isn’t part of Export Saves and doesn’t sync to iCloud.
Nagori adds two things:
- Quit any time. Leave halfway through a dungeon and Continue puts you back in the same room, at the same moment.
- Save states. Pause and choose Save to keep an exact moment. Nagori keeps your last four per game.
Keep saving in the game too: a save state may not load after some Nagori updates.
Save states before bosses
Twilight Princess is a long adventure, and each dungeon ends in a boss fight that can take more than one try, starting with Diababa at the end of the Forest Temple. Before you open a boss door, pause and choose Save. If the fight goes badly, Load puts you back at the door with your hearts and items as they were. The same trick helps in the twilight sections, where Link, as a wolf, hunts down the Tears of Light.
Best settings
In the pause menu, go to Settings → Quality. Start on Medium, the default. High gives smoother motion on the newest iPhones and iPads, and Low keeps the device coolest through a long dungeon. GameCube games show at their original resolution, and Full Screen stretches the picture to fill the display. The controller doesn’t rumble in GameCube games.